Monday, April 18, 2011

Bicycle shed platform

The one thing our new house doesn't have, that we really wanted, is a garage. Our lot is more than big enough to add one, though, so we're hoping to be able to build a garage next summer. In the meantime, we have to come up with ways to work around its absence.

The woodshop/workspace is in the basement bedroom that will eventually become the guest room/exercise room (complete with a murphy bed to save space!). It's actually quite convenient to the rest of my work space (sewing/crafts/etc), but once I start painting furniture I don't think it will be as nice. Though it's definitely better than being out on the screened in back porch at our last house- I was always sweltering or freezing.

The lawnmower is under the deck. Not optimal since it still gets rained on, but there is no way it's coming in the house. The gasoline fumes would be horrible.

The bikes, bike trailer and jogger are back in the waterproof portable tent shed (we had it on the covered back porch at our last house). I didn't want to put it directly on the ground (especially with how much rain we've been getting), so I built a simple platform to set the tent on.

I bought seven or eight 2"x10"x8' treated boards, four 4"x4"x8' treated posts, some decking screws, and some eye hooks. Total cost: under $100. Much cheaper than buying a whole new shed for $800+.

I laid out the 4 posts

Then laid out the 2x10s on top


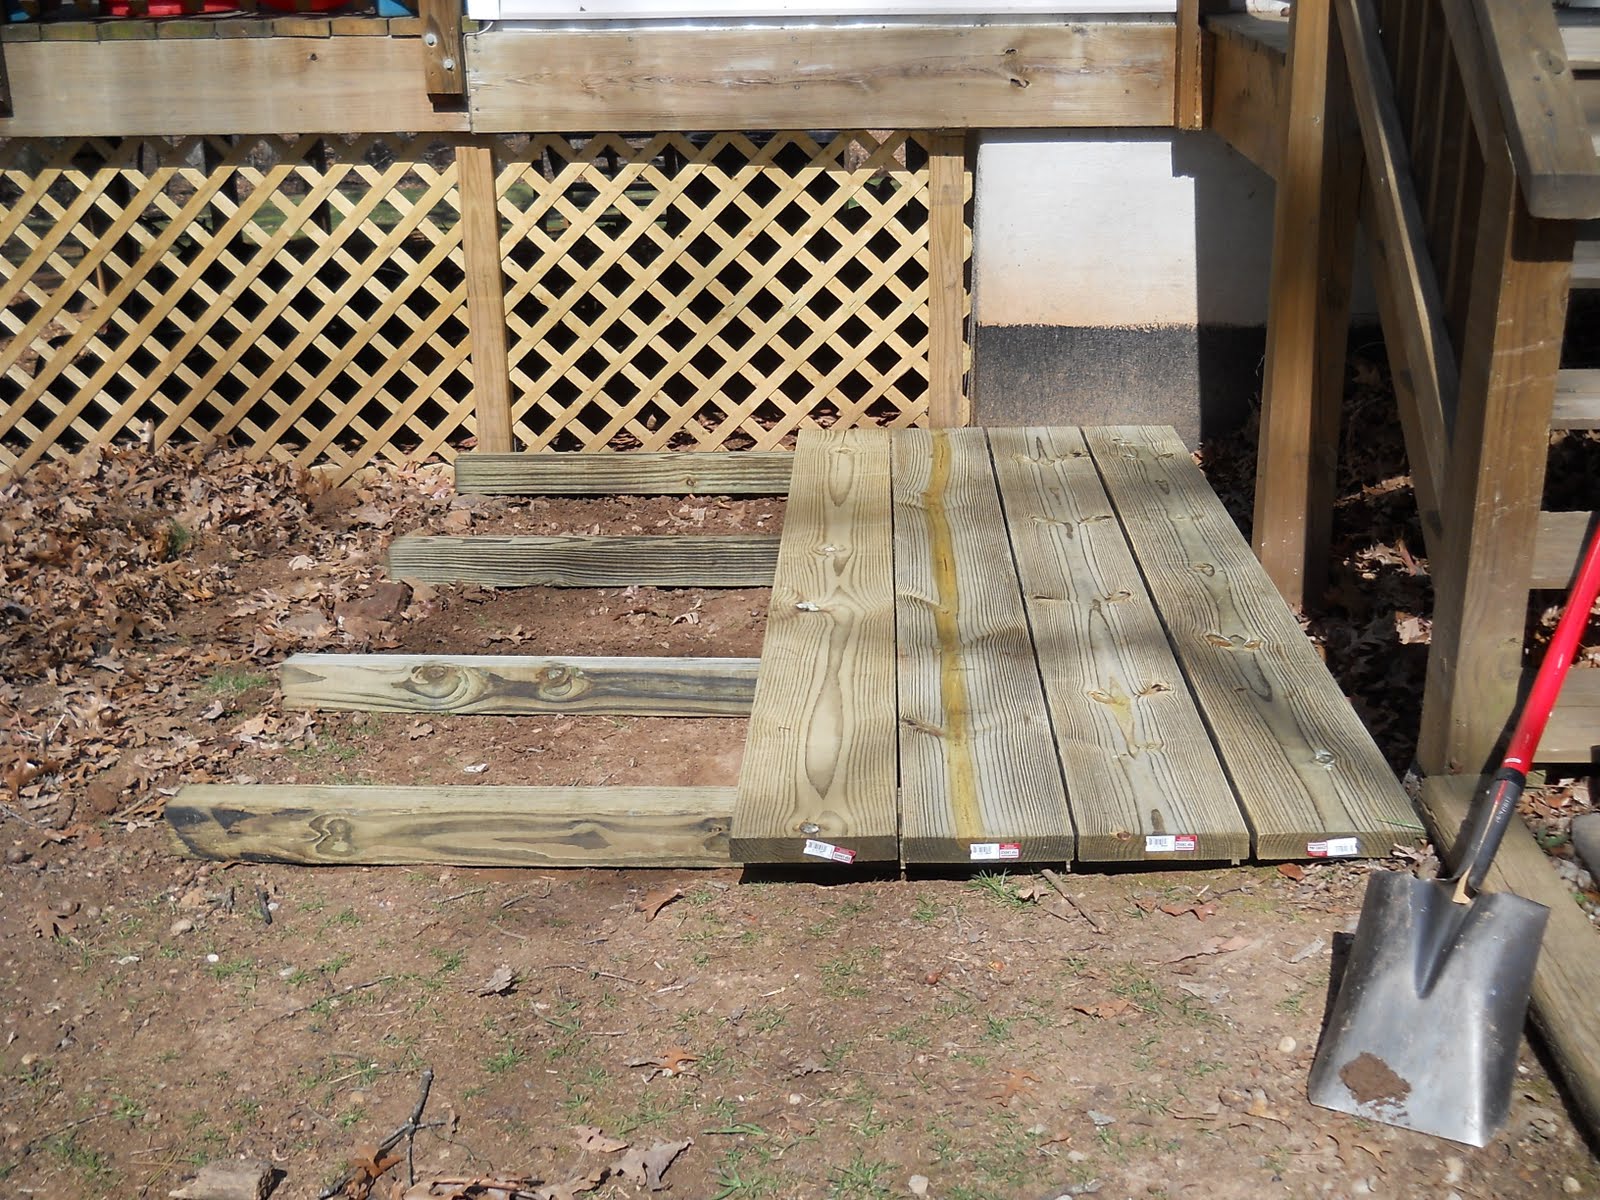
I tried to keep everything as straight and square as possible, but I didn't stress about it too much. I leveled the ground a little, but left a little bit of a backwards slope because I didn't want water pooling on the platform.The deck screws were self drilling, so I didn't even need to pre-drill the holes (yay!). I used a couple deck screws in between each board as super-high-tech spacers. Once all the boards were screwed down, I screwed in the eye hooks and attached the loops on the tent to the hooks to keep it anchored.


(yes, those are parts to LMS' climbing toy and playhouse. we're finally getting the rest of the pieces from my parents' house this summer!)

I could have had this completely done, from picking up the wood, to unloading it, to building the platform, to putting our bikes in the tent in about two hours. The only reason I didn't? The batteries on my drill hadn't been charged in a couple months and I had to wait for them to charge.

Quick, easy, and cheaper than any of the alternatives, yet works well. Can't go wrong there!

Saturday, April 16, 2011

What I've been up to lately

We're all moved into our new house, the rental house is cleaned out, we have our deposit back, and I've pretty much decided where I want to put everything in our new house. Everything is unpacked and put away except for my fabric stash- now that I have space, I need to build a shelf unit to store it all so I can get it out of the bins and see what I actually have.

I've got LMS' room mostly finished. The walls in the house ended up being in worse condition than we thought, so every room will need to be painted sooner rather than later.

 Hideous builder's beige everywhere, nasty pastel fan, massive marks on the walls.

More builder's beige. Nice floors, though.

Close up of the wall- the kid in this room must have jumped on his bed a lot to make marks this dark and deep on the walls.

 First I painted the ceiling and the ceiling fan white. Then I painted the top half of the walls purple.

Then I put beadboard on the lower half of the walls. Then I repainted the top half of the walls lavender because the purple was too overwhelmingly dark and too violet. Then I added trim to the beadboard. Then I added some crown moulding to cover my inept paint job. Then I taped everything off (which I hadn't done before) and painted the crown moulding, beadboard, trim, and closets white.
 I love the lavender walls and the white woodwork! It was extra time and money to repaint, but I am much happier with the results, and it's not going to bug me everytime I go in there.
(because I'm OCD like that)

I still need to paint the bedroom door white- the builder's beige just looks so dirty next to the nice, crisp white of all the other woodwork. And I want to add some cute knobs to the closet doors- green, purple, lavender, something that will give a pop of color to the doors.

 Then I painted the closet green with leftover paint from when the previous owners painted the master bedroom and bath. Solid green in the bathroom, sponged green in the bedroom. Meh. I actually don't mind the green in the bathroom by itself, but it completely clashes with our towels and is a bit too vibrant for a bathroom. Because of the sponge treatment it's not as vibrant in the bedroom, but in LMS's words: "that's not my favorite". However, it's a nice pop of color in the closet and ties in nicely with the green and purple color scheme (same as in her last bedroom).

I still need to finish painting the ceiling fan and put it back together. I also need to find and put on new outlet covers for the outlets- something cuter than the cheap off-white plastic ones that were on them.  And I decided LMS's dresser would work better in our room, so I will build shelves for her clothes in her closet (it's a big closet for one little kid).

We've got most of her furniture moved in now, but I have to get her clothes organized still. Once I get that done, I'll post some more pics.

I love how her room is turning out! Just don't look too closely or you'll see all the mistakes I've made :)