Monday, July 30, 2012

New Kitchen Lights


We've slowly been working on the kitchen since I removed the hanging cupboards, and last week we had an electrician come in and install can lights in our kitchen.  This was one project we didn't feel like tackling ourselves- wiring new lights wasn't something we wanted to mess around with.
Bad picture  of the old mismatched lights- I forgot to take a picture before I started changing out the lights.
The 2x4's and crown molding on the ceiling were taken down quite a while ago.

The electricians took down the large nipple light (yuck!) and put a can light there as well as four more. They also installed a box for the pendant lights over the sink.

Both the nipple light and the pendant lights also just had holes punched in the drywall and wires hanging down. I'm really not sure why they cheaped out on these, since there's lots of other details in the house that are upgrades.  Maybe it was just the electrician who did a crap job?


Holes waiting to be patched

Next up on the list: patch the holes, then finish painting the kitchen ceiling and the kitchen walls and install crown molding.

Even though it's not finished, the kitchen is already so much brighter and looks so much better. I love the light yellow on the walls- it's so cheerful.
New light over the dining table, where LMS is doing schoolwork
I'm thinking of putting some beadboard on the walls in the dining area. Not sure if I'd paint it white or light gray, though. What do you think?

Friday, July 27, 2012

Painting Progress


(the new light in the hall bathroom)
As I mentioned before, I've been painting several rooms- the kitchen, a small hallway next to the kitchen, the master bedroom, the upstairs hallway, hall bathroom, and part of the stairway.

Because they were ceiling-mounted, I replaced the lights in the kitchen, master bedroom, and upstairs hallway when I painted the ceilings. The wall-mounted hall bathroom light fixture didn't get removed till I started on all the walls.

I didn't take a picture of the old light, but it was a smaller version of the one in our bathroom
(which will also not be staying). The wall color looks quite nice in this pic, but it's actually a lime green, so the master bathroom will be painted in the near future.

I also removed the mirror to make it easier to paint everything. Once I got the light off, though, I found out that the builder cheaped out and didn't put a box in the wall- they just punched a hole and threaded the wires through it.


I carefully enlarged the hole to fit the box (after flipping the circuit breaker, first, of course- no death wishes here), threaded the wires into the appropriate spots, and installed the box. Apparently the bathroom has been repainted, but it was repainted builder's beige (why?!!) and they didn't remove the light first. So I also had to spackle the paint lines and the holes where the fixture was attached to the wall. The new fixture has a lot smaller face plate than the old one.


After two coats of paint, everything looks so much brighter and cleaner! Bye-bye grungy, scuffed-up walls, hello clean and bright ceilings and walls.

There's still more work to be done {touch up the paint where the ceiling meets the walls, paint the trim, paint the sink cabinet and medicine cabinet white, cut and install a frame around the mirror, and install a new TP holder} but I love how much better it looks already.
Every time I walk past the clean, bright walls I can't help but smile!

Sunday, July 8, 2012

So what have YOU been up to lately?


eating snow cones while waiting for the movie to start at the drive in theater

The last month we've been insanely busy:
  • Mr M had to travel for drill
  • he had a bunch of appointments and things to take care of before he could go on an overseas business trip
  • we finally finished all our adoption stuff (interviews, home visit, training, and online profile are all done- just waiting for the written approval now)
  • the usual house stuff- we finally got the last couple boxes unpacked and sorted (yay!)
  • we went on a short camping trip
  • LMS started swim lessons
  • LMS finished kindergarten
  • and the list goes on and on
I got tired all over again just typing the list. No wonder I haven't had the energy to blog lately.

Things have slowed down a smidge (finishing Mr M's stuff and the adoption stuff helped a lot), and my current project is to finally make progress painting the inside of the house. I've only painted three rooms since we moved in last spring: LMS's room, the library, and the basement rec room. That leaves the kitchen, front room, two stairways, two hallways, two bathrooms, and three bedrooms to paint. The other two bathrooms have recent paint jobs that I'm leaving for now.

Since the predominant color in our house is grungy builder's beige, except the lime green in the master bed/bath, it's important to me to get the walls looking clean and pretty. The grunge is really starting to get to me.

I've been holding off actually starting because I'm going to put paneling on the front room ceiling and we're installing can lights in the kitchen and we need to find a long ladder to do the ceiling above the stairs, all of which need to be done before the walls can be painted. I've recently realized I can move forward anyway by painting the dining part of the kitchen and working on the upstairs rooms until the ceiling stuff is finished.

Last week I spackled all the dents and little holes left by the previous owners, then I sanded and respackled where necessary, then sanded again. Spackle dust makes such a mess! I ended up working on the little hallway between the kitchen and front room, the kitchen, the stairs going upstairs, the upstairs hall, hall bath, and the master bedroom.

After the dust settled a bit I painted all the ceilings white and installed new light fixtures in the dining area of the kitchen, the upstairs hall, and the master bedroom, which makes a big impact for not a lot of money.

After two coats of flat ceiling white, I'm now ready to move on to the walls this week: "Shore" by Valspar for the small hallway, the stairway, the upstairs hall, and the hall bath. It's the same color I used in the library, and I like that it's still a light, neutral color, but with more gray than the current yellowish beige. So far it seems to go with just about any other color, which makes it very versatile. I tried other colors for the upstairs hallway and stairway, but they just weren't working, so we'll stay neutral for now. I'll use "Lemon Butter" by Valspar for the kitchen, and gray for the master bed. The gray is leftover from when the previous owners painted the front room, but it's a bit dark, so I'll add some white to lighten it up, and maybe a touch of blue as well.

We're also finishing up swimming lessons this week, which will be nice. I like the progress LMS has made, and she's got a great teacher, but it's definitely a time commitment that I'm ready to give up :)

How busy has your summer been?

Thursday, June 7, 2012

Square foot gardening


I recently read All New Square Foot Gardening by Mel Bartholomew, which I borrowed from some friends. After finishing the book, I will be buying a copy for us so we can make good use of it. Mel gives very clear instructions on how to successfully build, fill, and plant a square foot garden, as well as the reasons for why he does things that way.

We're hoping to get our yard landscaped (fill dirt brought in, yard leveled, retaining walls constructed) this fall, which is why we didn't worry too much about whether our garden worked out this spring/summer. Which is good, since it's *really* struggling. Reading about square foot gardening gave me a good idea of where to put our garden, how to organize it, and how to successfully grow produce. I think even with my propensity for killing plants I should be able to keep a garden alive and producing :)

Thinking really ambitiously, I'd like to combine square foot gardening with winter harvesting. Mel talks about extending your harvest a bit in the square foot gardening book, but I'd like to take it further, like Eliot talks about in his book. We'll need to build a greenhouse first, so we won't start the winter planting right away.

Have you tried square foot gardening or winter harvesting?

Wednesday, May 30, 2012

Our Treehouse

Every child needs a treehouse at some point in their life. We had one when I was in elementary school. My dad built it onto a huge eucalyptus tree in our back yard. It was a pretty simple box supported in two corners by posts and the other two corners on the tree. Boards nailed to the tree led to a trap door in the floor. A wall high enough to keep us from falling out went all around, and a roof kept all the eucalyptus leaves and berries out of the treehouse. Simple, but it provided hours of fun and entertainment for us. Though I think it was mainly the older kids that played in it. I don't think we let the little kids come up very often. Sorry guys! They're all grown up now and are all taller than me, so I don't think I can call them the "little kids" anymore :)
Our property has lots of trees, but no low branches to support a treehouse, so we built one using two trees as supports and two 4"x4" posts as the other supports. But first we cleared out some of the underbrush so we could see what we were doing and to make room for the future play area.

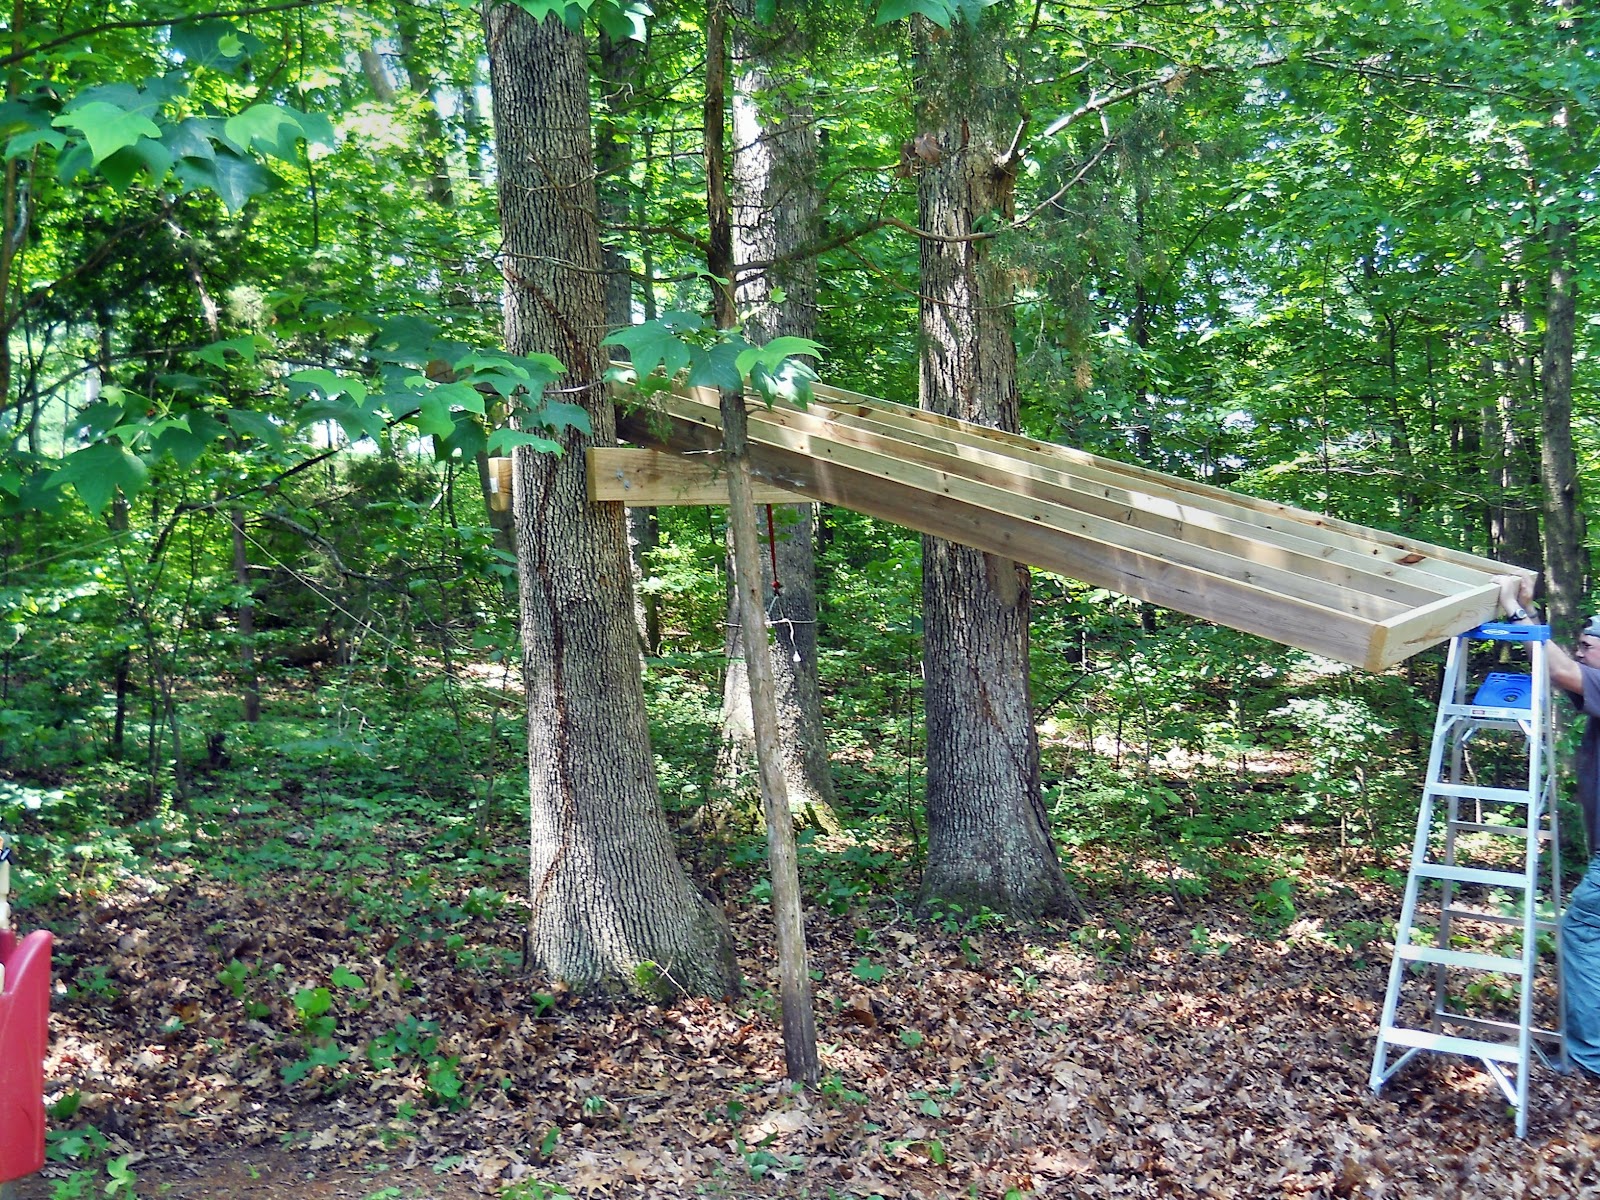
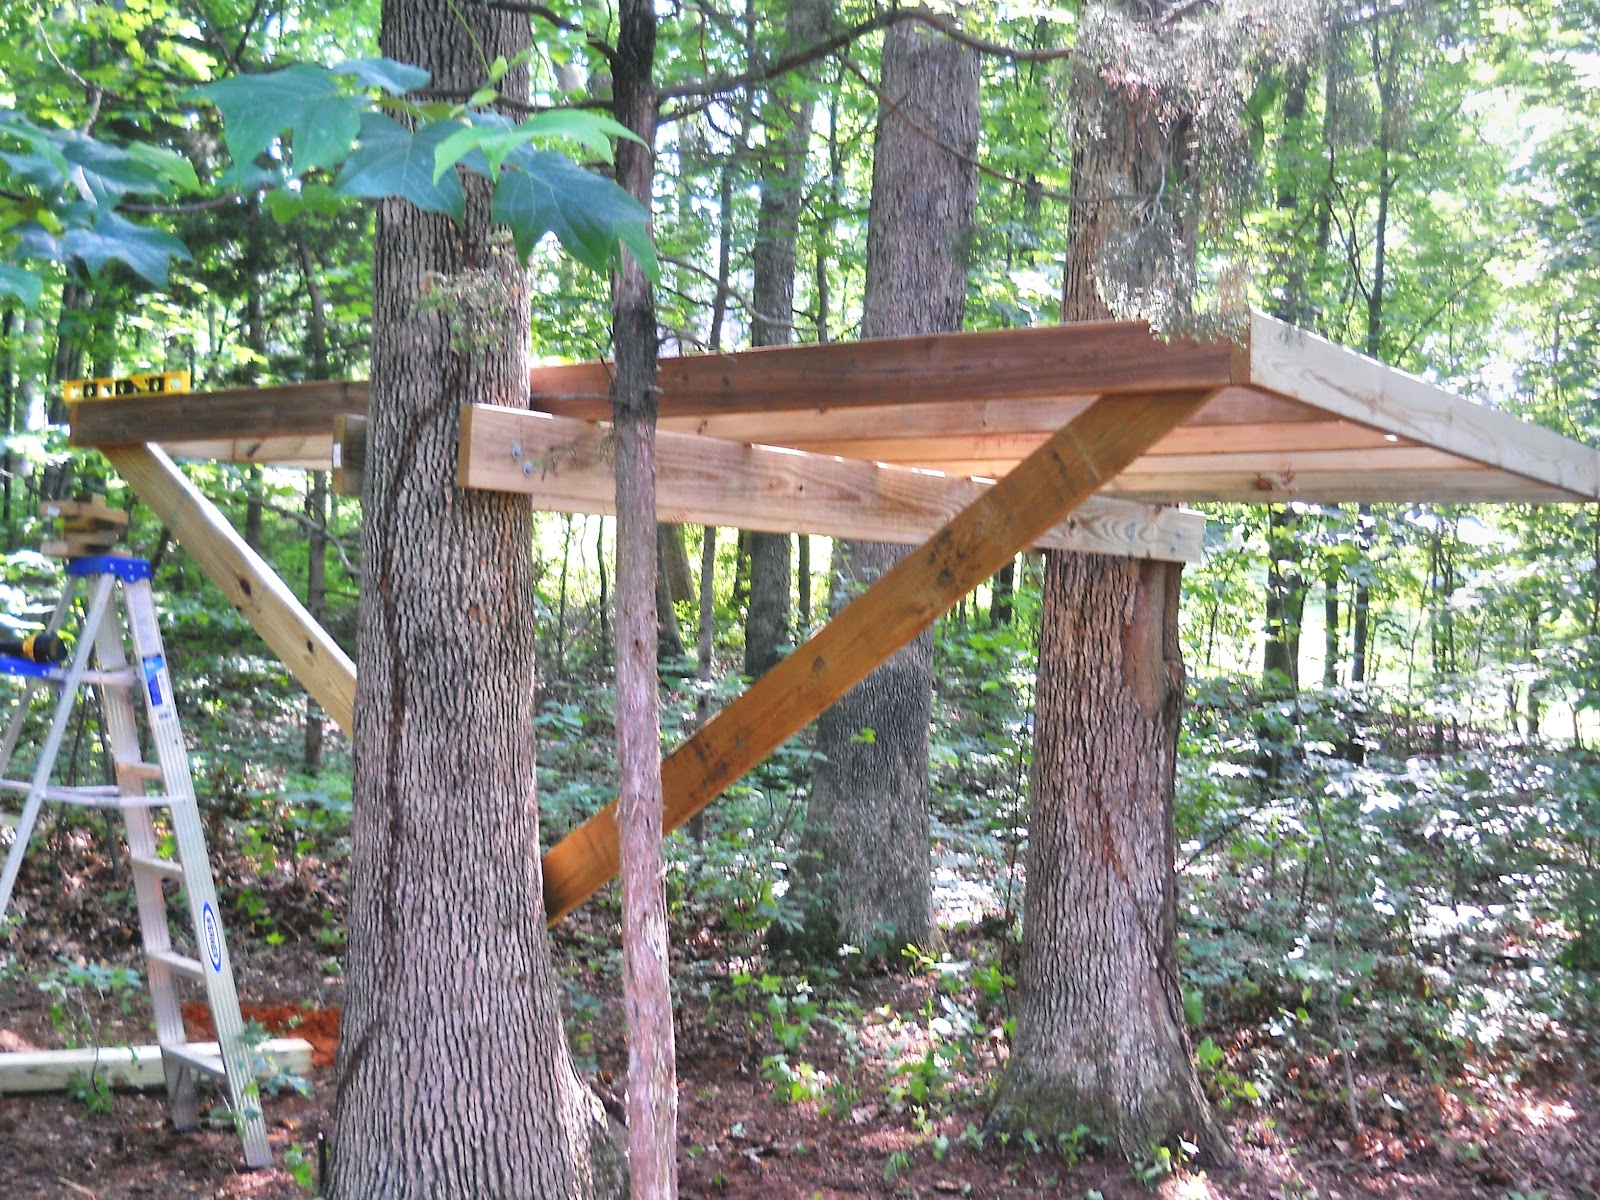
We started by attaching 2" x 10" x 12' boards to the trees to act as the center support. The ground isn't exactly level, so on one tree it's about 6' above the ground and on the other it's closer to 7' above the ground. It was a bit difficult keeping everything level while drilling the holes for the bolts. Luckily my dad was out for a quick visit, and he helped. We then built a 12' x 9'4" frame and filled in the joists.

Since the frame was made of 2" x 6" boards, it wasn't exactly light, but we (Mr M and I, because my dad had to leave to catch his plane) managed to drag it over to the center support.
We leaned it against the support, then attached ratcheting straps to the higher end and tightened them as much as possible.
We then lifted the frame and rested it on the ladder, so we could tighten the ratcheting straps again.
Then it was a matter of wiggling the frame back and forth while tightening the ratcheting straps. It wasn't the easiest process, but we eventually got the frame centered on the supports. We toed in the frame to the supports, then moved on.
Mr M and LMS ran to Lowe's for a couple more pieces of wood for the diagonal braces (we forgot to factor those in when we bought the wood) and some more bolts (which we'd also forgotten to factor in). While they did that, I got out the leaf blower and cleared out all the fallen leaves so we could see the ground better. We kept tripping over tree roots and holes in the ground, so it seemed like a good thing to do.

We wanted the corners supported, so we cut diagonal braces that meet in the center and are attached to the trees. We made sure the corners were level and then screwed the supports to the frame.
After that, we measured and then dug the holes for the posts. We screwed the posts to the frame to hold them in place, then we mixed water and kwikrete in both the holes.
LMS wanted to help us throughout the process, but the wood was too heavy for her to actually help with anything, so she was quite excited to help stir the kwikrete. This is her posed "I'm smiling for the camera" face and Mr M's "Hurry up and take the picture so we can finish this" face. :)
At this point, we were out of time, so we left the concrete to set. The next step will be drilling holes and bolting the posts to the frame, the supports to the frame, and the supports to the trees.

This is very much a work in progress that will evolve as we work on it. We need to add decking and a railing, a ladder, a "house", swings, a slide, a climbing wall, a telescope, a rope and a pulley, the list goes on and on. And LMS keeps coming up things to add- the telescope and rope and pulley are her ideas :)
Unlike most of our projects, this one actually went faster than expected. Though maybe that's because I hadn't really thought about how long it would take, other than that it needed to get done. In any case, we got this done all in one day, and now the hard part is done. The rest will be a lot easier to do and can be done in small increments.

Did you have a treehouse when you were little?

Tuesday, May 8, 2012

The trail through our woods


Looking at the trail from the "trailhead"- the large rocks on either side border our parking area

A couple weekends ago we rented a stump grinder and a wood chipper. There were several stumps that were in the way, especially one in our driveway from a tree we took down to enlarge the driving space. And there were some brush piles left by the previous owners that we wanted to get rid of. After taking care of the brush piles, we walked the lot, picking up a lot of the downed branches and clearing up the underbrush. I wouldn't have worried about the underbrush, but we wanted the wood chips for our trail, so we chipped as many branches as we could.
The grinding generated a lot of sawdust (lower right of picture), which is finer than the wood chips (upper left of picture), so we spread that on the trail with the wood chips.

We also lined the path with some of the fallen trees that we didn't chip up. We weren't able to do all the path (the wood chips end at the right edge of the picture), but we got a good start, and I'm excited to finish off this section of the trail. Once we do that, we can clear another loop through the trees.
Have you gotten to use any loud power tools lately?

Monday, April 23, 2012

Pink twirly dress

The new twirly dress

The old twirly dress (pic taken a year ago)

LMS has LOVED this dress that she's had for at least two years. I bought it before we moved out here, so I know it's at least that old. It was a bit big for her then, but since she's grown so slowly the last couple years, she was able to keep wearing it. Unfortunately, it's gotten too tight and short, and she got paint on it somehow. On the other hand, it means she's finally overcoming the damage from the celiac disease and is getting the nutrients she needs so she can grow (yay!).

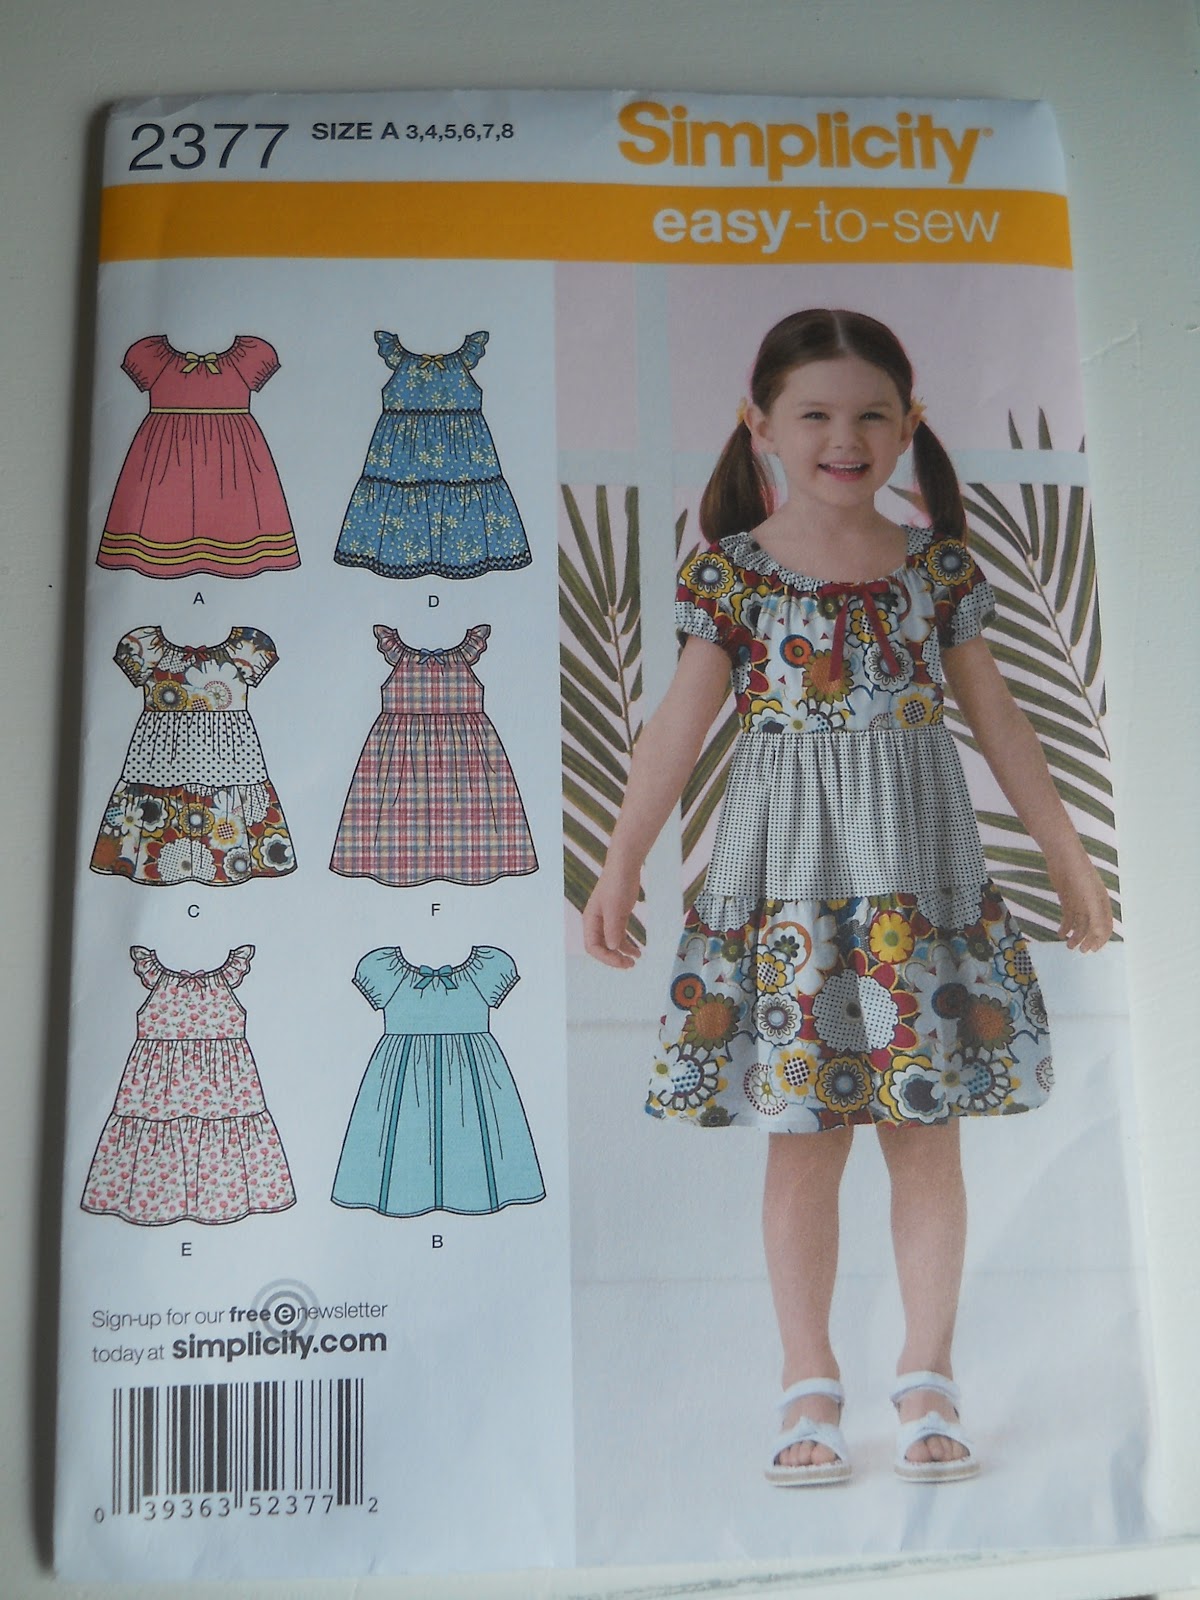
We both felt that she needed a new twirly dress, so we headed off to JoAnns to buy some fabric. I originally planned to use the old dress to make a new one since I like the style. While there, though, we saw a cute sample dress that looked fairly easy. We bought the pattern to make it and the fabric and went home and got started.


As the pattern says, it is easy to sew. It only took a few hours to complete, and I think I spent more time pinning pieces together than sewing. Next time I go to JoAnn's I'm getting more fabric to make another dress for LMS- they're great for summer!


I used a stiff cotton that has a seersucker look to it, though I don't think it's real seersucker. I wasn't able to iron the seams and hems because of the seersucker texture, which made hemming the dress a little more tedious. I like the colors and patterns, but the fabric doesn't drape well because of the stiffness- the dress turned out poofier than I intended.


The only thing I did different from the pattern was to add some pink tulle to the bottom, just like her last twirly dress had.


LMS was posing herself for the photos- she had certain ideas about how she wanted to stand :)


LMS loves that she has a pink twirly dress (not purple like the last one- I keep trying to convince her it was a pinky-purple, but she's not going for it). I'm pleased with how it turned out and how quickly it came together.