Showing posts with label Sewing. Show all posts

Thursday, February 14, 2013

Valentine's Ruffle Skirt


Remember the Halloween candy corn skirt? I decided to make a Valentine's version for LMS.


I bought red, dark pink, and white t-shirts from JoAnns (3 for $9) and used an old white t-shirt of mine for the base. 


 I had only intended to do three ruffles, but I didn't re-read the instructions very well. I ended up sewing the white one on first and then the red one. After the white I should have done the dark pink one, then the red one. Since I didn't do that, the space between the white and red was too wide for just the dark pink ruffle. So I dug through my scrap bag and found an old pink sundress of LMS'. It had some stains, but I was able to cut them out and still have enough fabric for a light pink ruffle. I think the light pink actually makes it all work.


I think it turned out super-cute! And it's big enough that she'll be able to wear it next year too :)

Friday, October 26, 2012

Princess Buttercup Halloween Costume


A few months ago the Little Miss decided she wanted to be Princess Buttercup for Halloween. I figured she meant the wedding dress
but she meant the red riding dress

Ok, not a problem- the red dress would be easier and a lot less fiddly than all the trim on the wedding dress.
I started by using the pattern I made for her Princess Leia dress last year, but I added a lot to the sleeves to allow for the very full sleeves.  I also added a bit on the sides and to the length to bring the pattern up a size.

After cutting it out though, I realized the bodice needed to be four separate pieces, not one, so I modified my pattern and fiddled with it a bit before it finally fit LMS right. I lined the bodice (but not the skirt) by doubling the fabric, but I don't think it was necessary, and I think the seams would lay a little flatter without the extra bulk. This would really depend on the fabric used, though. I used a polyester fabric with a really nice drape. It seems pretty similar to the fabric I used for the Princess Leia dress- it had a nice drape, also.

After getting the bodice sewn together how I wanted it, I sewed in the sleeves, then did all those gathers in the cuffs. The costuming site I consulted called it cramming, and while I don't know if I used the proper technique, I can say that I definitely crammed a lot of gathers into a tiny cuff.
Has anyone else noticed how hard it is to photograph the color red? 
I ended up graying the photos to make it easier to see the details.

After getting the sleeves just right I pinned the skirt pieces on, inserting pleats in the front and back for fullness. Then it was just a matter of sewing the bodice to the skirt, and then sewing the the side seams starting at the cuffs and ending at the bottom of the skirt.

The finishing touches were the hem and the grommets in the cuffs- I used my Crop-o-dile for the grommets and it was super easy.


Buttercup also wears a belt and a hairnet thingy, so of course I needed to make them too. I used some gold trim, some lightweight fusible web, some ribbon, and a small piece of velcro for the belt. 

I ironed the trim to the ribbon, then sewed around the circles to make sure it stayed on. I then cut the belt to fit around LMS's waist and sewed some velcro to the ends. I sewed the leftover pieces so they'd hang down on the sides, just like in the movie.

And since the Little Miss now has short hair, I made a wig for her to wear. I used one of the sleeves from the white t-shirt I used for the candy corn ruffle skirt as the base, and made it the same way I made the Rapunzel wig I ended up not wearing in the Disney Half Marathon. I hot glued some bead trim in a grid pattern, then glued it to the wig along with some trim around the outer edge of the thingy (not quite a crown, is it a headdress, a fancy hair net?).


I also pulled the hair back in a knot, like Princess Buttercup's.

We had our ward trunk or treat last night, so we took most of these photos before the activity. It wasn't till I started writing this post at 10:30 pm that I realized I forgot all about the belt, and LMS went around all night without it. 

Ooops. 

So we had to do another round of photos this morning so we could get the full effect. I love how it turned out!

Tuesday, October 23, 2012

Ruffled Candy Corn Skirt


While browsing blog posts in Google Reader, I came across the cutest ruffled candy corn skirt here.

She upcycled old t-shirts, but I didn't have any old t-shirts to use. I checked the dollar store, hoping to find some cheap shirts there, but they only had black t-shirts. So I went to JoAnns, where I bought 3 adult size L shirts for $9. Not as good as free or $3, but $9 isn't terrible, and I have some scraps leftover for other projects.

Because I used adult L shirts I had to cut down the white shirt to use for the skirt base, but from there I followed her directions except I made the ruffles 5" instead of 4", which resulted in a longer skirt.

Getting the ruffles evenly spaced is always the part that takes the longest, but other than that, it was a quick and easy project. And it turned out large enough that she can wear it next year, too :) She got lots of compliments when she wore it the other day. I think we got the t-shirt at Target on clearance after Halloween last year.


Monday, April 23, 2012

Pink twirly dress

The new twirly dress

The old twirly dress (pic taken a year ago)

LMS has LOVED this dress that she's had for at least two years. I bought it before we moved out here, so I know it's at least that old. It was a bit big for her then, but since she's grown so slowly the last couple years, she was able to keep wearing it. Unfortunately, it's gotten too tight and short, and she got paint on it somehow. On the other hand, it means she's finally overcoming the damage from the celiac disease and is getting the nutrients she needs so she can grow (yay!).

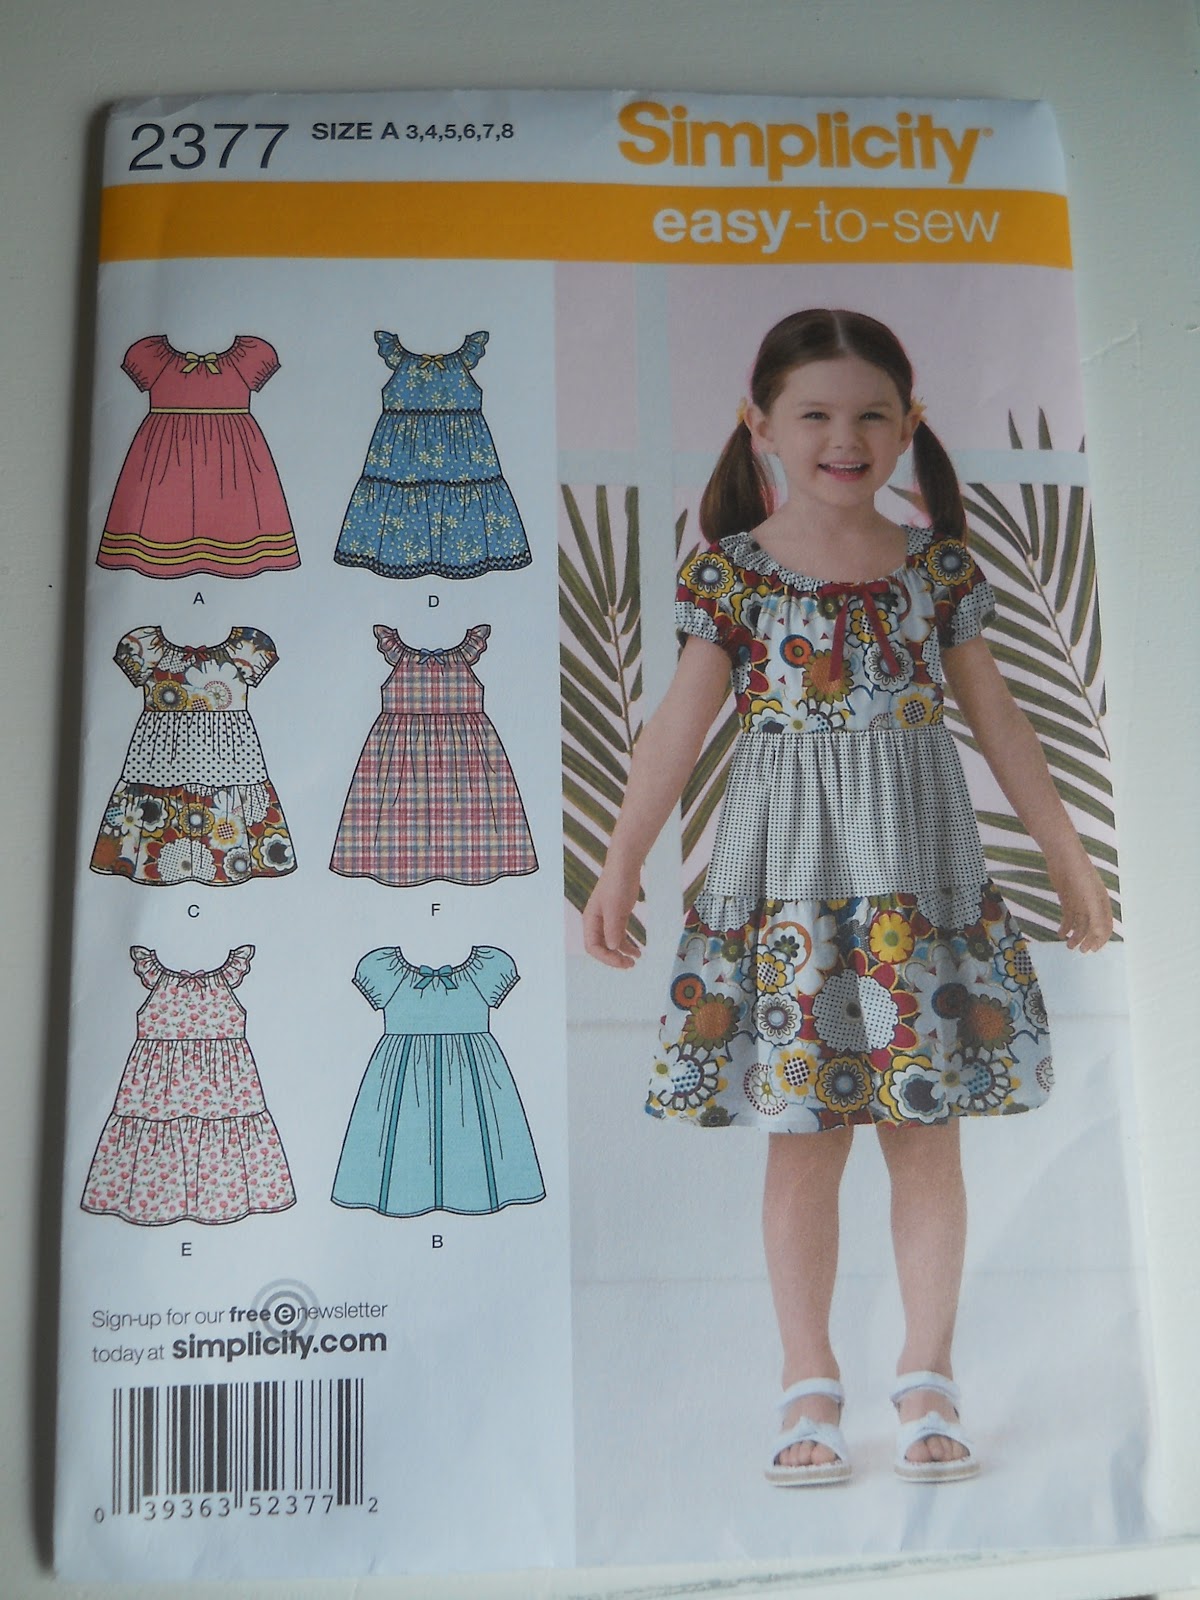
We both felt that she needed a new twirly dress, so we headed off to JoAnns to buy some fabric. I originally planned to use the old dress to make a new one since I like the style. While there, though, we saw a cute sample dress that looked fairly easy. We bought the pattern to make it and the fabric and went home and got started.


As the pattern says, it is easy to sew. It only took a few hours to complete, and I think I spent more time pinning pieces together than sewing. Next time I go to JoAnn's I'm getting more fabric to make another dress for LMS- they're great for summer!


I used a stiff cotton that has a seersucker look to it, though I don't think it's real seersucker. I wasn't able to iron the seams and hems because of the seersucker texture, which made hemming the dress a little more tedious. I like the colors and patterns, but the fabric doesn't drape well because of the stiffness- the dress turned out poofier than I intended.


The only thing I did different from the pattern was to add some pink tulle to the bottom, just like her last twirly dress had.


LMS was posing herself for the photos- she had certain ideas about how she wanted to stand :)


LMS loves that she has a pink twirly dress (not purple like the last one- I keep trying to convince her it was a pinky-purple, but she's not going for it). I'm pleased with how it turned out and how quickly it came together.

Saturday, February 25, 2012

Creative food storage

Our food storage shelves (purchased from IKEA) are currently in our basement workshop room. Someday we'll have a storage room just for food and such, but we're not there yet. In the meantime, I finally have a central location to put our food storage- it's no longer scattered among various kitchen cupboards and boxes in the laundry room. Now I can see at a glance what I'm running low on. So nice!

The problem with sharing the space is that whenever I cut wood sawdust gets EVERYWHERE. I tried draping a dropcloth over the shelves, but it was way too long and made it hard to get to anything on the shelves.

So I cut three dropcloth panels to size and stuck them to the shelves.
I used the existing hems in the fabric so the only raw edges are at the top, covered by the velcro.

I had 20' of sticky-back velcro that I've had for awhile, so I used that. I hate sewing sticky-back velcro because it gums up the needle and makes the thread break, which is why I still had 20' of it in my stash.

So I used staples. I used my staple gun to staple one side to the shelf and I used my regular stapler to staple the other side to the fabric.
The top edge of the drop cloth panel.

I added a couple tabs to hold the panels together along the edges- I just stapled those as well.

It's not the prettiest job ever, but it made use of materials I already had (the velcro and the dropcloth), it decreased my stash of stuff, and it works great. Can't beat that!

Wednesday, November 9, 2011

Our Halloween Costumes

I was editing the Halloween costume pics when I realized I didn't get a picture of the back of LMS' costume. Since I'm particularly pleased with how it turned out, I had to wait for a sunny day and reshoot the costume pics. And then I had to wait till I had some spare time to edit the photos before adding them to the post. So, a week and a half after Halloween, here's my costume post :)


Little Miss Sunshine dressed as Princess Leia. She wanted to be a princess again, and I managed to direct her in a direction other than the Disney variety :) She's seen the original three movies, so she knows who Princess Leia is and was ok with being her instead of Belle (I sooo did not have time to sew Belle's yellow ball gown this year).

I was Upper GI and Mr M was Lower GI- a fun idea I found online that worked out well- all we had to do was dig out an old uniform and make name tags.

 You can't see my name tag, so here's the tags we pinned to our shirts.
I used my silhouette to cut the black cardstock for the back and the cream vinyl to go on top.


I followed ideas found here and here and used pictures from here. I drew an outline around LMS (with her laying on some newsprint) and used that as the pattern for the dress. I used a synthetic fabric (nylon or polyester something, I don't remember for sure) that has a really nice drape to it. I cut two of everything so the dress had a self lining. A rectangle formed the hood and was attached to the neckline with pleats. I put a zipper in the back and used some stiff interfacing to help the collar keep its shape. I then sewed some silver lame on some white canvas to make the belt, which also has velcro on the ends to close it.

I bought a skein of yarn and a costume wig and played with some ideas for the cinnamon buns. The wig didn't work because it didn't have a center part in the back and because I couldn't touch the nasty fake hair for longer than 5 seconds without being completely icked out. Have you ever touched the fake hair in a cheap wig? Yech! Anyway, I carefully cut the hair off the wig base and then sewed yarn to it with a center seam for the part. Using the wig base definitely made the whole thing so much easier. I then gathered the yarn and twisted it into cinnamon buns and sewed them in place with some yarn. It's not perfect, but it's good enough and definitely recognizable for what it is :)
  I really like how the hood turned out :)


Isn't she cute?

Wednesday, September 14, 2011

Ch-ch-ch-changes

I finally got around to updating my blog template and header, which I hadn't touched for almost a year. I kind of got on a roll and added pages and moved things around to fit within those pages. I then moved some posts over from my other blog, which I'm shutting down. It was just too much of a hassle to keep two up and running, so I'm consolidating. It's still a work in progress, so things will continue to change for the next little while, but already I'm loving the new look!

Below are links to the projects I moved over from the other blog. I've shown a picture or two of most of them here in the past, but now the whole post has been moved over here.

I was going to include a thumbnail with each link, but I haven't quite figured out how to do that yet. Once I do I'll update this post with them.

Wednesday, September 7, 2011

Bandana skirt

Back in June I made LMS this cute skirt and shirt that I saw here. The tutorial was easy to follow and the whole outfit was done quickly. I did add a lining to the handkerchief skirt since the pink was a bit see-through, but other than that I followed the tutorial.

Little Miss Sunshine likes how twirly the skirt is :)


Cute, huh?

Monday, August 8, 2011

Basket for LMS' bike

We gave Little Miss Sunshine a balance bike for her birthday in May. We don't have sidewalks or paving for her to learn to ride on and we thought the walking bike might give her more confidence on the uneven terrain of our yard.

We went with a Hobby Bike, which can be converted to a pedal bike when she's ready (pedals and chain were included).

Being the OCD person that I am, I decided she just *had* to have a basket for her bike :)

I used this tutorial, but used knit fabric for the lining because that's what I had on hand (I wouldn't recommend using knit, but I also really dislike sewing knits).
 
Her dolly fits in nicely. Though usually it's her lambie going for a ride...

Posing on her bike.
Disclaimer: She wasn't actually riding her bike- hence no helmet.
I always make sure she wears her helmet when she's riding her bike.