Showing posts with label Upcycling. Show all posts

Tuesday, April 30, 2013

Guest Room Dresser Re-Do


I first showed this dresser here, and I liked how it turned out. However, once I painted the walls in the guest room I realized the colors just didn't go together that well.
 

crappy night-time picture, but you get the idea

While I was finishing up the closet in the guest room I repainted the dresser. I went with a light gray since I figured it would look good with the aqua on the walls. It's similar to the gray in the closet, but a little darker.


I ended up doing two coats of homemade chalk paint- the first one was too light, so I added more gray to the paint and got a slightly darker color that was more what I had in mind.

Because the edges had gotten a couple nicks in the original {non-distressed} blue paint, I went ahead and distressed the edges a little so future nicks would blend in better. I also put a coat of wax on top of the paint, which really changes changes the final feeling of the finish. It gives it a much smoother, less chalky finish. I never did a coat of wax over the blue paint, and it always had an unpleasant dry, chalky feel to it.
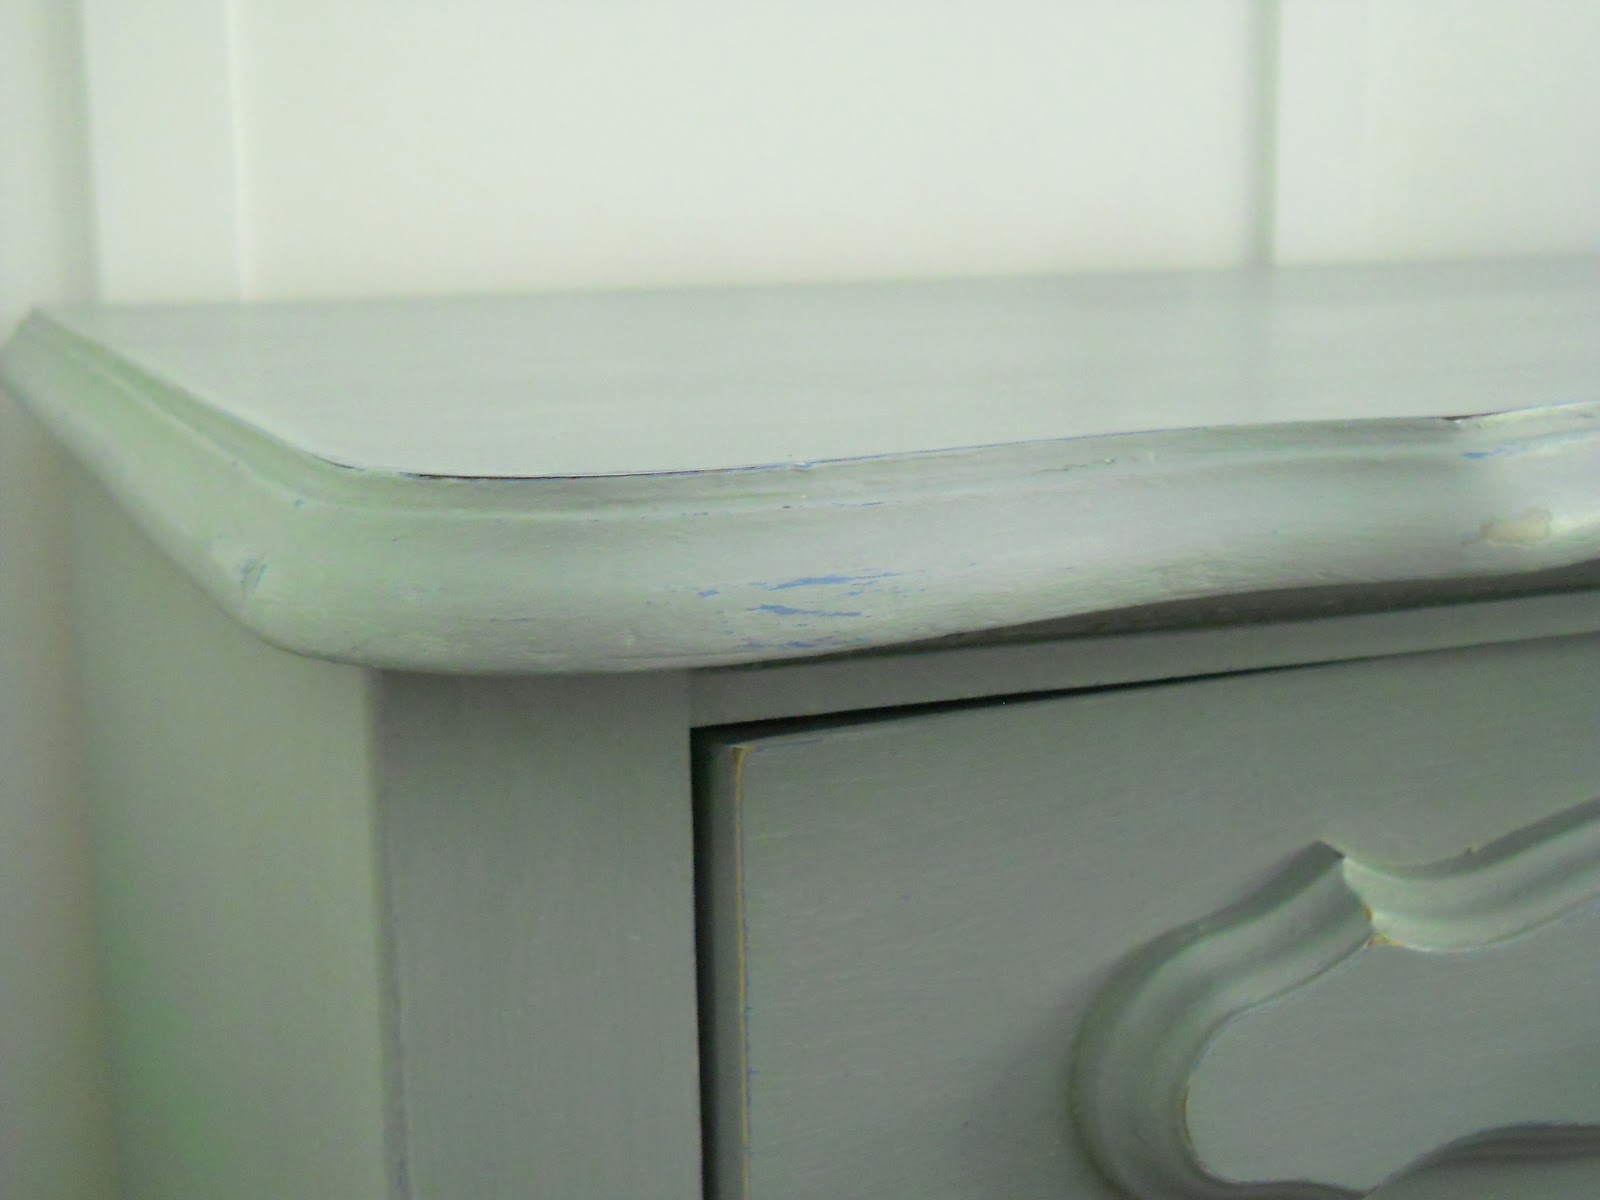


I left the knobs and handles white, but may eventually repaint them a very light gray or a darker gray so there's not such a stark contrast.


So much better! It no longer clashes with the walls and it ties in with the rest of the room (more on the room itself tomorrow).

Wednesday, February 29, 2012

Free Refurbished Cabinet


I answered an ad on craigslist for this cabinet. They were asking $25 for it, and it needed some sanding and some paint.

Wednesday, January 18, 2012

Guest Room Nightstand

While I was painting this dresser, I decided to go ahead and finally paint this nightstand. I bought it at Goodwill a year and a half ago for $3, but then let it sit around looking ugly.

Since it was also destined for the guest room, I gave it a matching coat of chalk paint. I also switched out the outdated, not-retro-enough-to-be-cool drawer pulls-- unlike the ones on the dresser, which are retro enough to be cool :). I got the replacements at Hobby Lobby for half off, but they were a silver/pewter color so I spray painted them white to match the knobs on the dresser.

It really is amazing what a difference a coat of paint makes. It looks so much better!
I'm not embarassed to have people stay in the guest room anymore :)
And one of these days I'll get the board and batten up and paint the room and it'll look even better.

Tuesday, January 17, 2012

Guest Room Dresser

About a year ago I bought this dresser on craigslist, with the intent to paint it and make it look nicer. I finally got around to it just before Christmas. Here it is in all it's glory- I'd already taken the knobs off when I remembered I needed a before picture. The white paint on the top is from resting shelves I was painting on top of the dresser.

I sanded the white paint off the top, then mixed up some chalk paint. I'd heard good things about it, and decided to give it a try. I used blue paint leftover from painting the front door and added some white paint to tone the color down a bit. I spray painted the knobs white and then reattached them.

I love the result!
The dresser is in our guest room, but since I haven't done anything else in the guest room yet, there's nothing else to show.

Tuesday, September 20, 2011

Rehabbed Buffet

 This another of my craigslist finds. $40 or $50 I think? I bought it last winter but never got around to refinishing it before we moved.

I'm pretty sure it had been refinished at some point in the past- the gold paint was on top of some other bubbled finish, and the whole thing had definitely seen better days.

But I thought it had potential, so I sanded it down, sprayed it with Krylon spray primer (which is bumpy, so be prepared to do more sanding- not something I was expecting), then painted it white. I finished with a light gray wash and some distressing, and it looks so much better!

The trim looks so much nicer without the gold paint.


I have a place to put some decor,

we have a piece of furniture on a previously empty wall,

and LMS has a place to store the toys that she insists on hauling upstairs instead of leaving downstairs in the toy room. I think it's time to clean it out already...

I'm glad I finally got it finished! 
It does kind of blend into the gray wall, but we'll be repainting the walls to a light gray-blue, which will contrast nicely with the buffet.

Wednesday, September 14, 2011

Ch-ch-ch-changes

I finally got around to updating my blog template and header, which I hadn't touched for almost a year. I kind of got on a roll and added pages and moved things around to fit within those pages. I then moved some posts over from my other blog, which I'm shutting down. It was just too much of a hassle to keep two up and running, so I'm consolidating. It's still a work in progress, so things will continue to change for the next little while, but already I'm loving the new look!

Below are links to the projects I moved over from the other blog. I've shown a picture or two of most of them here in the past, but now the whole post has been moved over here.

I was going to include a thumbnail with each link, but I haven't quite figured out how to do that yet. Once I do I'll update this post with them.

Thursday, November 4, 2010

My Goodwill lamp

Awhile ago I found this lamp at Goodwill for $3.95. It was on the ugly side and it was missing its shade, but I liked the shape and thought it had potential. Our front room only has two weird sconces above the fireplace, and they don't provide nearly enough light. I thought this lamp could help solve the problem.

I didn't think there would be much wear and tear on the lamp, so I didn't bother sanding it. Mostly because the thought of sanding metal rubs me very wrong. ick.

I did spray it with primer though, and then sprayed it with Krylon oil-rubbed bronze and some spray poly sealer.

Doesn't it have a nice shape? It's much more evident with the darker paint than it was with the nasty gold finish.

I dressed up a plain lamp shade I found at wally world. I used part of a drop cloth that I already had to cover the shade and make the flowers. I started out with just a few flowers and it looked fine when the light was off, but when the light was on, the seams and such showed, so I added more flowers. I already had the brown ribbon that I used on the upper edge, but I'm not completely sure I like the look now. I think it looked better before. I'll probably end up re-doing it, but I've got lots of other projects to work on, so for now it'll stay as-is.

The wood printers drawer I found at a yard sale will eventually hold Mr S's rank advancements, awards, and service coins, but for now it sits in the corner.
The blue canning jar is one I've had for years, the other blue jar is from IKEA, and I found the glass insulator at a yard sale for a buck.
The square vase and rocks also came from IKEA and the star was from the dollar section at Target.
The home sign was on clearance for a couple bucks at Seagull Book.
Sad to say, but this is one of first real "decorating" attempts. However, I like how it looks, and it'll be easy to change up if I ever get bored with it.

Friday, October 8, 2010

Coffee table re-do

The finished table, sitting on a recent craigslist find.

Like the cabinet, I lightly sanded the edges of the legs. It'll get kicked and scuffed up, so why not give it a head start?


I like the contrast of the painted base and the stained top. I've seen others do it, and I like the look.

What my $15 craigslist started out looking like:

What it looks like now:

I like the results!

Thursday, October 7, 2010

Inside the craft cabinet

On the outside, it looks nice and neat.

But when you open it up, you can see all the stuff it's hiding:

What exactly is all of this stuff?

The unfortunate thing is that there's no room for fabric, so after I finish sorting it all (not quite done yet), I'll put baskets-full of fabric on top of the cabinet.

Want to see my quick and easy way to keep the door panels in place?
Those two red dots are red plastic push pins.
I put two in the top and two in the bottom,  and the panels aren't going anywhere.
It will be very easy to switch them out.

The cut edges of the fabric do show, but only when the doors are open  :)

Wednesday, October 6, 2010

My new craft cabinet is finally finished

We got back from our road trip a week and a half ago. After the usual unpacking, laundry, grocery shopping (our frig was completely empty), and trying to get back onto a schedule, I managed to finally finish my cabinet. 

After putting the top back on the base, I put all the doors and knobs back on. Then I lightly sanded all the edges and corners. Nothing super-noticeable, just enough to cover up any future dings. Because let's face it, I'm a klutz, and I will be banging things into the edges. The top coat of paint is a really light blue/gray- it looks almost white, but you can see the difference where the white primer peeks out. I like the two-tone (three-tone if you count the dark wood under the primer) look.

I then cut thin plywood (leftover from replacing the backing on the cabinet) to replace the glass that was originally in the doors. Since the cabinet is full of sewing and craft supplies I wanted the cabinet completely closed in- I'm not a fan of open cupboards. I prefer to close the doors and hide the mess. Not that there's a mess right now, it's all still organized, but things don't always stay that way.

Then I covered each panel with fabric I bought on sale at JoAnns. I just hot glued the fabric on the back, and it will be easy to switch it out. LMS actually wanted a different fabric and was disappointed that I went with this one- I like it though. 

 I liked the one on the left, but it's a little dark for the room, which really doesn't get very good light.

LMS liked the one on the right, but it's a little too bright for now. Come spring, though, I think it'll be a nice change.


A couple of the panels ended up a little crooked, but I'm ignoring it. (squash that OCD, squash that OCD)

I left the medallions in place on the base cabinet doors, and used the original knobs on all the doors. I didn't replace the original magnetic closures. The doors stay closed without them, and I was too lazy :)

I spray painted the knobs, but that was all I did to them before putting them back on. They were kind of brassy black before, now they're all black/brown.

Love the detail!

What my $50 craigslist find used to look like:

What it looks like now:
I'm happy!

Thursday, September 9, 2010

Coffee table sneak peak

The other project I had to finish up was my $15 (!) craigslist coffee table. This didn't take long at all, especially compared to how long the cabinet took. I'll let the paint and stain cure while we're gone and when we get back I'll distress the edges a bit, since they'll get distressed anyway.

Here's what it used to look like:

And here's what it looks like right now:

Monday, September 6, 2010

Cabinet sneak peak

There's nothing like a firm deadline to give me the extra push I need to finish up my projects. We're heading out on a roadtrip to visit family on Monday, so I had to get all my painting finished and the pieces brought inside. The paint will cure while we're gone, and I'll put it all back together when we ge back.

In the meantime, here's a reminder of what the cabinet used to look like:

And a sneak peak of what it looks like now: